Thursday, September 30, 2010

Greeting Card Kids for UStamp

You may remember awhile back that I told you I was invited to be a Guest Desiger for the UStamp Early Fall Edition. Well, the live event has passed and now I can share the projects I created for it. We had to choose one stamp set (two if your first choice did not contain sentiments) and a unique color combination. No two designers could use the same stamp set or color combinations. I chose Greeting Card Kids. I just love them! I designed four cards and this is how they turned out:


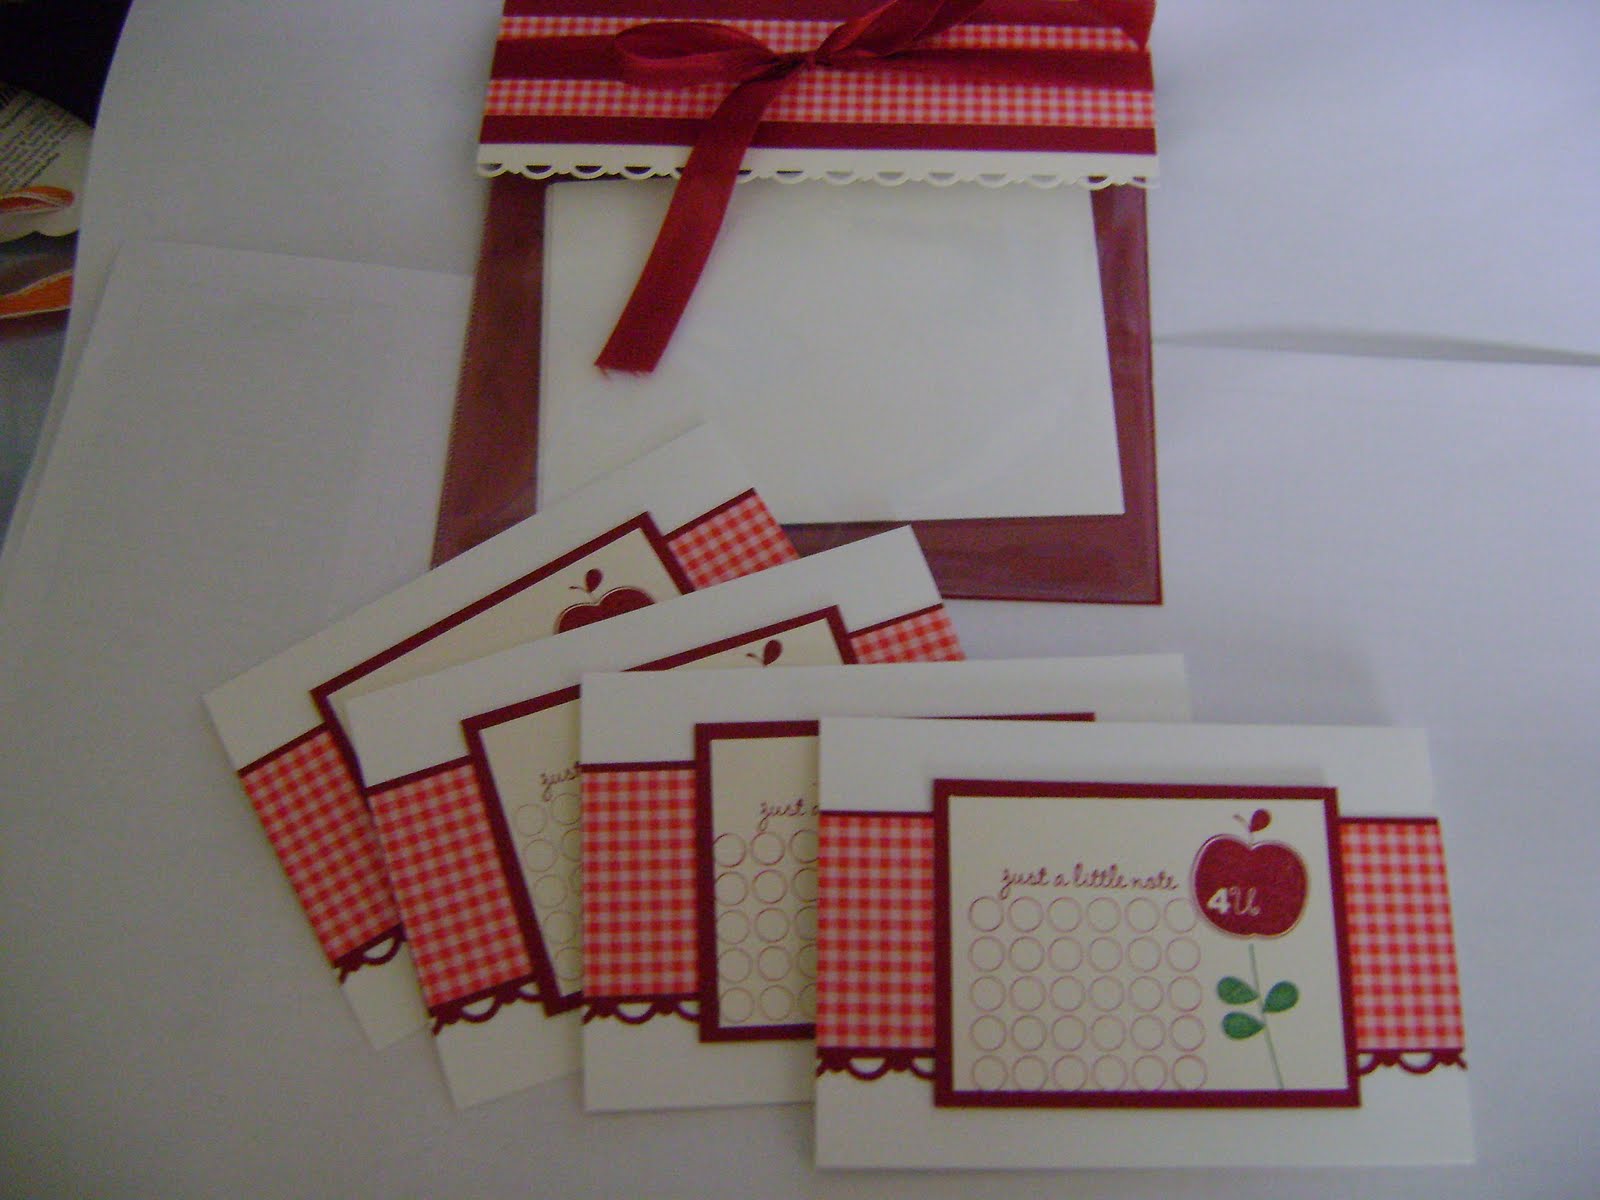
I love how this set represents four holidays/events in one stamp set. In order of their appearance during the year, the first represents "back to school":


Followed closely by Halloween:


Then by my favorite holiday, which is Christmas:


And finally, by Valentine's Day:


According to the rules of the event, I cannot give you directions for making these projects. However, I can direct you to the UStamp website so you can purchase the Early Fall 2010 event. In that event, you will receive 40 sets of 4 cards. No stamp sets were duplicated and you receive 40 different color combinations. The projects in the event are amazing!!!! I encourage you to go here and purchase yours today.

While you are there, you might want to consider purchasing the current event of Cards with Cool Moves. All of the projects include one regular card and one card with movement and coordinating envelopes. And again, no duplicates!!! There have been some awesome projects posted already and I will have one in that session as well. And I have been invited back again for the Holiday Edition soon to follow. I was so excited!!!!

The UStamp events offer wonderful projects at a very affordable price. Considering joining us today. You will NOT be disappointed :) Thanks for stopping by and sharing with me today. 'Til next time...........

Happy Stamping,

Laurie

Remember to get your mammogram!


Friday, September 24, 2010

Interactive Scrapbook Page

I have been working quite a bit lately with Sherrill Graff. She is amazing and such a big help. You may remember me posting that I am the current winner of her Sample Maker Contest. I am in the process of making 50 card front samples for her to display at her events from January thru May of 2011. But she also recently shared a wonderful Interactive Scrapbook Page. In exchange for learning how to make it, I am donating a packgage of Designer Series Paper to her for a children's event that she is holding. With her permission, I have developed a tutorial to make these wonderful pages. This is how they look:


You turn back the top page to reveal a smaller page beneath:


And that page folds back on "hinges" to reveal a photo or journaling underneath......


They are so fun to make!!! I am offering a tutorial via e-mail or a kit with your choice of Designer Series Paper. Of course, the prints may vary because the packs of DSP offer a variety. I have a Paypal button under my Classes and Tutorials in the left column so you can purchase them easily and quickly. I will ship or e-mail as soon as your paypal payment is confirmed. Be sure to choose which Designer Series Paper you want with your kit which also includes all of the cardstock and page protectors you need in addition to the tutorial which will be e-mailed to you. I left the backs of the pages blank in my sample but you will receive ample cardstock to finish both sides.

These pages are an awesome, fun way to group your photos in your albums. And you can add journaling and stamped images without losing alot of space for your photos. The kit includes plenty of 12x12 and 8 1/2 x 11 cardstock, Designer Series Paper, 3 page protectors, and "hinge" tabs. All you need to add is adhesive, desired cutting tools, and your photos. Quantities will be limited on some of the paper choices as it is only offered during the Holiday Mini Sales Period. So, be sure to order early to get your first choice.

The tutorial sells alone for $3.95

The kit sells for $15.50 which includes shipping and handling and the e-mailed tutorial.

Order yours today with the paypal link under Classes and Tutorials.

You will love these. They are so fun and simple to put together. I love scrapbooking and am so thankful to Sherrill for allowing me to share this fun project you!! Thanks for stopping by today and I hope you will take advantage of this super project. 'Til next time..........

Happy Stamping,

Laurie

Remember to get your mammogram!

Thursday, September 23, 2010

Still Time Left!

There is still time to receive this AMAZING tote FREE when you join my Stampin' Up Team. That's right - if you want to be ATT - Always Thumpin' & Thwackin', CLICK HERE and use the recruiting password "you rock" to sign up now!!! Stampin' Up is a wonderful business opportunity as well as the perfect place to find all of supplies as a hobbyist. From rubber stamping, to quilting, to scrapbooking, we have all of the coordinating products to get started and keep going!!! And this awesome tote, valued at $40, can be yours absolutely FREE if you sign up now through October 18th!!! You can earn a discount on all of your personal purchases and receive INSTANT INCOME on all of your customer orders starting TODAY!!!

How great would it be to be able to earn an income while doing what you love to do??? That is what I am doing right now as a Stampin' Up Demonstrator. I love scrapbooking and stamping and the best part is sharing it with all of you!! This is truly the best job I could ever ask for and it can be yours for as little as $175 for which you receive over $300 worth of product and business tools - everything you need to start earning that extra income immediately!! There is absolutely no commitment to hold workshops. You can join for the sole purpose of purchasing at the demonstrator discount - it is all up to you!!! If you sign up today you will earn that discount for at least the next four months and even longer if you choose!!! And the best part is that your entire kit PLUS the tote will be mailed to you with FREE shipping!!! All you pay is $175 plus'applicable sales tax!! This is a fantastic deal so don't delay - JOIN MY TEAM TODAY!!!!!!

Contact me at laurie.gibson57@yahoo.com if you have any questions - I would love to help you out!! Thanks for stopping by today.....'Til next time.............

Happy Stamping,

Laurie

Remember to get your mammogram!

Thankful for....Polished Stone

I am doing a workshop on Saturday and the hostess chose the Polished Stone technique for the demonstration item. I love this technique because it is simple to do but offers a beautiful background for your stamped image. Since fall is in the air - even in Southern California (at least until this weekend), I decided to use a "fallish" color scheme for my technique. And of course, if you use fall colors, Lovely as a Tree is a "go-to" stamp set. I played around with my color combo and this is the finished project:


The complete list of supplies:

Stamp Set: Lovely as a Tree, Thankful For

Cardstock: So Saffron, Soft Suede, Pumpkin Pie, Wild Wasabi, Glossy White

Ink: Jet Black Stazon, Soft Suede

Accessories: Big Shot with Square Lattice Embossing Folder, Stampin' Dimensionals, Early Espresso 1/8-inch Satin Ribbon, Classic Re-Inkers: So Saffron, Wild Wasabi, Pumpkin Pie, Soft Suede

The polished stone technique honestly is very simple to do. I started with a cottonball soaked with rubbing alcohol. To that, I added 2 drops of the So Saffron, Wild Wasabi and Pumpkin Pie re-inkers and 1 drop of the Soft Suede. I dabbed the cottonball onto the Glossy Cardstock. It dries in just a few minutes and then I stamped the tree with Jet Black Stazon. I love the way it looks as though the leaves are changing color. I will miss seeing that from my family room window this year. I know the woods behind our home in Michigan are starting to turn and will soon be vibrant with tones of yellow, orange, and red. We have a few trees here that change late in the season, but if I get too homesick, I can always take a drive to the mountains :)

Tomorrow starts a brand new UStamp Event - Cards with Cool Moves!! I have been asked to be a guest designer for it and I have seen some of the projects already - you will not want to miss this one. The projects are awesome!!!! Click the link on the left to get signed up - you won't be disappointed. Thanks for stopping by and sharing with me today. 'Til next time..............

Happy Stamping,

Laurie

Remember to get your mammogram!

Monday, September 20, 2010

Vintage Sense of Time

From the very first time I saw the Sense of Time stamp set, I have wanted it. One of the perks of being chosen as a designer for a UStamp event is some free merchandise. So, naturally I grabbed the opportunity to pick a favorite :) Along with it, I was able to get the fabulous new Distressing Essentials Kit as well. Paired together, I created this:


The complete list of supplies:

Stamp Set:
Sense of Time

Cardstock:
Marina Mist, Night of Navy, Early Espresso, Very Vanilla

Ink:
Early Espresso

Accessories:
Distressing Essentials Kit, Marina Mist 5/8" Satin Ribbon, Antique Brads, Stampin' Sponge, Stampin' Dimensionals, 1/16" Hole Punch

I stamped the clock on Very Vanilla and then crumpled the cardstock. Then I spread it out and used the Tea Stain and Mahogany inks in the Distressing Essentials Kit to add the "dirty" effects. I also sponged around the edges of each piece with Early Espresso ink. I crumpled up the Marina Mist Satin Ribbon and then sponged a little Early Espresso ink on that as well to cut the brightness and then attached it with two of the smaller Vintage Brads.

Although at first I thought I wouldn't.....I love the vintage style! And I am really loving all of the great new vintage products that Stampin' Up offers this year. From brads to fabric to inks we have a fantastic variety!! You can find them all at my Online Store here. As I was making this card, I also created just a card front for Sherrill Graff - so now it's 2 down, 48 to go :) Now that the vendor show is over, I can get working full steam ahead for her. The show didn't go quite as well as I had hoped. We didn't have very many attendees, but we made a lot of new friends and had the opportunity to network with a terrific group of vendors! I will have the tutorial and some kits available for the project that I demonstrated on my blog tomorrow. So, be sure to check it out!

Thanks for stopping in and letting me share with you today. As always, I appreciate your comments as it helps me know what you like to see. 'Til next time...........

Happy Stamping,

Laurie

Remember to get your mammogram!

Wednesday, September 15, 2010

More Vendor Fair Items

Every time I do a vendor show I seem to have one item that is a "best seller." It is a little pack of notcards in a holder made with a 6x6 page protector. I have heard that the concept has been around for quite a few years but I just learned how to make them about a year ago. I love them and they are so simple. It is also a fantastic way to use up some scraps of Designer Series Paper. I made a few using some retired colors and prints and some with new. Here are just a few of them:


My favorite is the set with the Apple Blossom stamp set. It reminds me of fall back home in Michigan. When I see red apples this time of the year, I always think of the cider mill we used to visit with round tables covered in red checked tablecloths where we sat to have donuts and cider. This is the entire packet:


I used the checked paper from Pawsitively Prints II that actually coordinates with Poppy Parade. But, I absolutely LOVE it with Cherry Cobbler!! Whooda thunk it???? :) I think they came out so cute!!! Thoughts are going through my mind to change this notecard up a bit for one of my samples for Sherrill Graff. This combo would even be cute for Christmas or Valentine's Day. I hope you won't get sick of seeing it :) LOL!!

The notecards are made from the Notecards in the 2010-2011 catalog and can be purchased HERE. I love it because you can get 5 of these from one pack of the notecards. So, not only are they adorable, they are affordable!! I am putting together a class packet that can be purchased for $25. It includes everything you need to make 5 notecard packets with embellishments. The only thing you need to add are the stamp sets and adhesive. The price includes priority mail shipping. Look for the BUY NOW button under my classes and tutorials in the next couple of days. Or, if you are in the San Diego area and would like to hold a class for yourself and a group of friends, contact me to set a date. Thanks for coming by today and sharing with me. 'Til next time...........

Happy Stamping,

Laurie

Remember to get your mammogram!

Sunday, September 12, 2010

Growing Green and Woodland Walk

I got some very exciting news this past week. I sent some of the cards I had made to Sherrill Graff for her Sample Maker contest. I had seen some of the past winners and they were awesome!! I didn't think I stood a chance but to my surprise and astonishment, I actually won!!! So, now I will be making 50 card fronts for Sherrill to display from January thru May. In return, I am getting $350 in FREE merchandise!!! I could hardly keep my feet on the ground :) Sherrill will be holding another contest in February. Visit her at her Late Night Stamper website for all of the details. Don't be afraid to enter her contest - she is so awesome and everyone has the same opportunity to win. You just never know - you could be the next winner!! :)

So, onto the card for today....I really liked the layout of the Thanksgiving card I made the other day so I decided to see what else I could come up with. I swapped out the stamp set from Day of Gratitude to Growing Green and swapped out the Autumn Spice Specialty Paper for the gorgeous Woodland Walk Desinger Series Paper to come up with this:


The complete list of supplies:

Stamp Set: Growing Green, Occasional

Cardstock: Soft Suede, Very Vanilla, Woodland Walk Designer Series Paper, Wild Wasabi

Ink: Soft Suede

Accessories: Scallop Dotted Ribbon Border Punch, Crimper, Big Shot with Little Leaves Sizzlit, Stampin' Dimensionals, Mini Glue Dots, Scallop Trim Border Punch

I just love using the new Scallop Dotted Ribbon Border Punch to make that cool little strip laid across the card where the two designs from the Designer Series Paper meet. It is so cute!! I stamped the flower image onto Very Vanilla with Soft Suede ink and then cut them out before attaching them with dimensionals. I attached the leaves with Mini Glue Dots just on one leaf so they kind of stick out for some added dimension :) Makes them just POP!!

I really like the way this turned out and definitely plan to do one as a card front for Sherrill. So, 1 down - 49 to go :) Good thing I have until December 15th !!! I figure 1 a day and I should be finished ahead of schedule (providing I stick to that and don't do my usual procrastinating :) ) LOL! Let's hope.....Thanks for coming by today and sharing with me. 'Til next time......

Happy Stamping,

Laurie

Remember to get your mammogram!

Wednesday, September 8, 2010

Fall Harvest - Masking Technique

I love the fall. It has always been and always will be my favorite season - even if I can't watch the leaves in the woods change color in my back yard anymore :( I will really miss that this year. In fact, I am sure they have already begun to change back home. But, eventually a few will change here in Santee as well. The colors may not be as vibrant, but I can always take a drive to the mountains and get the same effect. And I do love the mountains!!

But, thankfully, Stampin' Up has some really awesome stamp sets that allow me to celebrate the season on paper. Today, I used the stamp set Fall Harvest, which my awesome upline, Debbie, just sent to me!! She actually went to my house in Michigan and shipped me two boxes of supplies and a third one is on the way!! She is so amazing and I am so thankful for her!! She felt sorry for me because I was starting to have withdrawals from my stuff...LOL! And I am so glad she able to locate this stamp set for me so I could make this:


The complete list of supplies:

Stamp Set:
Fall Harvest, Day of Gratitude

Cardstock:
Pumpkin Pie, Garden Green, Rich Razzleberry, Very Vanilla

Ink:
Jet Black Stazon, Rich Razzleberry

Accessories:
Big Shot with Square Lattice Embossing Folder, Rich Razzleberry 1 1/4-inch Striped Grosgrain Ribbon, Linen Thread, Stampin' Dimensionals, Markers - Pumpkin Pie, Cajun Craze, Garden Green, Rich Razzleberry, White Signo Gel Pen

I just love this stamp set when I want to use the masking technique. I stamped the images on post-it notes and covered the image that I stamped on the Very Vanilla cardstock and stamped another image so it overlapped the post-it. I love the way it gives your images dimension all in one layer. I stamped and colored everything before I ran it through the Big Shot. I can hardly do a project these days without using that thing!!! I just love all of the embossing folders - they are just tooo cool! Or, as my son would say, "as cool as the other side of the pillow." LOL!!

Well, I have so many projects in the works right now. I have been invited to be a designer for the new Cards That Move session of UStamp and I am taking part in an awesome blog hop in November. I will keep you up to date on all of the details but it is something you will definitely NOT want to miss!!! Thanks for stopping by and sharing with me today. 'Til next time.........

Happy Stamping,

Laurie

Remember to get your mammogram!

Shop or join my team at:
team password is: you rock

Sunday, September 5, 2010

Vendor Project and Exciting News!!

I was invited to do a Ladies Vendor Show and All-Day Crop on the 18th of September. The event is for the wives of participants at a Railroad Convention. How fun!! The ladies will be able to come and see demonstrations and purchase products from a variety of vendors. Since it against company policy to sell products at events such as these, I have been working on some handmade items to sell.

I wanted to make something that would be inexpensive and useful. I also wanted to showcase Stampin' Up as a company that offers more than just card making and scrapbooking. So, I looked to my favorite source for projects like this - Splitcoast Stampers :) In the past, I have carried this item at vendor shows and it is always a top seller:


I know, right now you are asking yourself - What in the world are these??? Well, they end up being something every woman needs in her purse!! Each one will be different but here is the first one I have completed:


And this is the inside:


They are so easy to make. You start with a piece of cardstock cut to 5 1/2 x 8 1/4 inches. Score it at 2 5/8 and 2 7/8. Use a piece of designer series paper, 2 1/2 x 2 scored at 7/8 and 1 1/8 to cover the top of the tablet. Attach the tablet to the inside using sticky strip. Cover the front with designer series paper and add any stamped image you like and VOILA!!! So simple! You can get a complete step-by-step tutorial on www.splitcoaststampers.com by clicking on Resources - Projects. It is a place where you can get lots of ideas for techniques and projects. Warning - it will become addicting! :) I purchased my tablets at a local office supply store and had them cut in half.

These little notepads are wonderful for grocery lists, wish lists, jotting down an address, or whatever you need a sheet of paper for while you are "out and about" :) I always have one in my purse! I have 24 of them to complete and then I will be on to the next project. I only have a couple of weeks so things may get a bit hectic :)

And now for the exciting news-----I have been chosen once again to be a Guest Designer for the next round of UStamp With Dawn and Friends!!!! This time you will get projects that involve cards that move :) I am so excited to be part of another event with this wonderful group of ladies!!! I will keep you updated so you can join us :) I have already seen a few of the projects and they are amazing!!!!

Well, back to the grindstone. Thanks so much for coming by today and allowing me to share with you. 'Til next time.......

Happy Stamping,

Laurie

Remember to get your mammogram!

Friday, September 3, 2010

Had To Change My Name and a GREAT OFFER!!


So, I received a message from Stampin' Up telling me my new group name was too close to an existing one so I had to change it.

So, rather than being the Rockin' Rollin' ReINKers, we are now ATT - Always Thumpin' and Thwackin'.

That's right, we love to Thump our rubber on the ink pad and Thwack the sponge around the edges :) !!! And if you would like to start thumpin' and thwackin' with us, click here to become a member of my team. During the month of September you will receive an awesome craft tote with your starter kit making it a value of more than $350 !!!!! How great is that! Demonstrators had to pay $40 for the tote! And you can get it FREE!!! Of course, it won't be filled like it is in the photo, but you will also get a lot of product and supplies :)
Well, I am off to the grocery store this morning and then home to stamp!! Look for a post of a fun project later today :) 'Til next time.................

Happy Stamping,

Laurie

Remember to get your mammogram!

Thursday, September 2, 2010

Fun and Prizes!!!


Who doesn't like to win prizes?????? I can't think of anyone :) Well, I am part of a clue list for a wonderful prize - a $400 Stampin' Up Shopping Spree!!!! How awesome would that be!! The rules are to collect 20 clues to be eligible to win. So, somewhere out there in blogland, you will find 19 more clues. All of the blogs are members of the Late Night Stampers group headed up by Sherrill Graff. This group is amazing!! We share tons of ideas and you can join by clicking the link in the left column of my blog. The group is open to all who love anything Stampin' Up. I am sure there will be even more details to follow but for now, thanks for stopping by my blog and playing the late night stampers game.

My clue is: Square Lattice Embossing Folder, pg. 214

Here are some other blogs where you can find clues and even more blogs to visit:

Collect 19 more clues and e-mail them to Sherrill Graff at istmpnv@aol.com
Good Luck and Happy Stamping,

Laurie

Remember to get your mammogram!

Wednesday, September 1, 2010

Got Treats?

I think the new stamp set "Got Treats" is so cute and fun!!! It includes images for Christmas, Valentines Day, birthdays, Halloween, and even St. Patty's Day :) Too fun!! I have been thinking of tons of ways to use these. For my second guest blogger post, I chose the image for Halloween and came up with this:


The complete list of supplies:

Stamp Set: Got Treats

Cardstock: Pumpkin Pie, Old Olive, Basic Black, Wicked Fun Specialty Paper

Ink: Jet Black Stazon, Old Olive, Pumpkin Pie

Accessories: 1/2-circle Punch, Basic Black Satin Ribbon, Stampin' Dimensionals

I love to add that little "ticket corner" to my layers sometimes just to break up the lines. But, I will admit that I do not own the Ticket Corner Punch. I learned a little trick with the 1/2-inch circle punch at a Stampin' Up Regional event. If you turn the punch over, you will find an "x" in the circle image. If you line the corner of your cardstock to the center point and punch, you get the same ticket corner affect. Essentially, you have 2-punches-in-1 :) And, you can use that $6.95 for some brads :) Don't you just love a bargain??!!!!

Lori will be posting this card on her blog sometime this month. It is so much fun to share with others :) That is what I love about being a Stampin' Up demonstrator! I hope someday this will be my full-time job - hey, we all have to dream, right??? But, in the meantime...the search for work continues.

I hope you enjoyed this simple, fun Halloween card today. Thanks for coming by so I could share with you. 'Til next time........

Happy Stamping,

Laurie

Remember to get your mammogram!


Graphic 45 Mother's Day Card

We are still on lockdown here in Michigan, so I have been digging into my stash of papers. I had planned to use the beautiful Time To Flouri...