Before I show you my card for today, I thought I would share a couple of pics of some California visitors. This picture is one of the seals (or it could be a sea lion) that have taken over the Children's Pool at La Jolla Cove. He struck this pose as soon as he spied a line of spectators with cameras along the rope on the beach and he stayed this way for a good 20 minutes so everyone could get a good shot:

He was just tooo cute to pass up :) This next one is Danny and Leah on the beach in La Jolla. They really hated to have to go back to the snow in Michigan the next day and I hated to see them go:

Aren't they just the cutest couple!!? I know, I know.......I am little prejudiced when it comes to them :) This next one came out a little blurry and unfortunately, I didn't know that until we got home :( The panda at the San Diego Zoo was certainly a highlight of our whirlwind week:
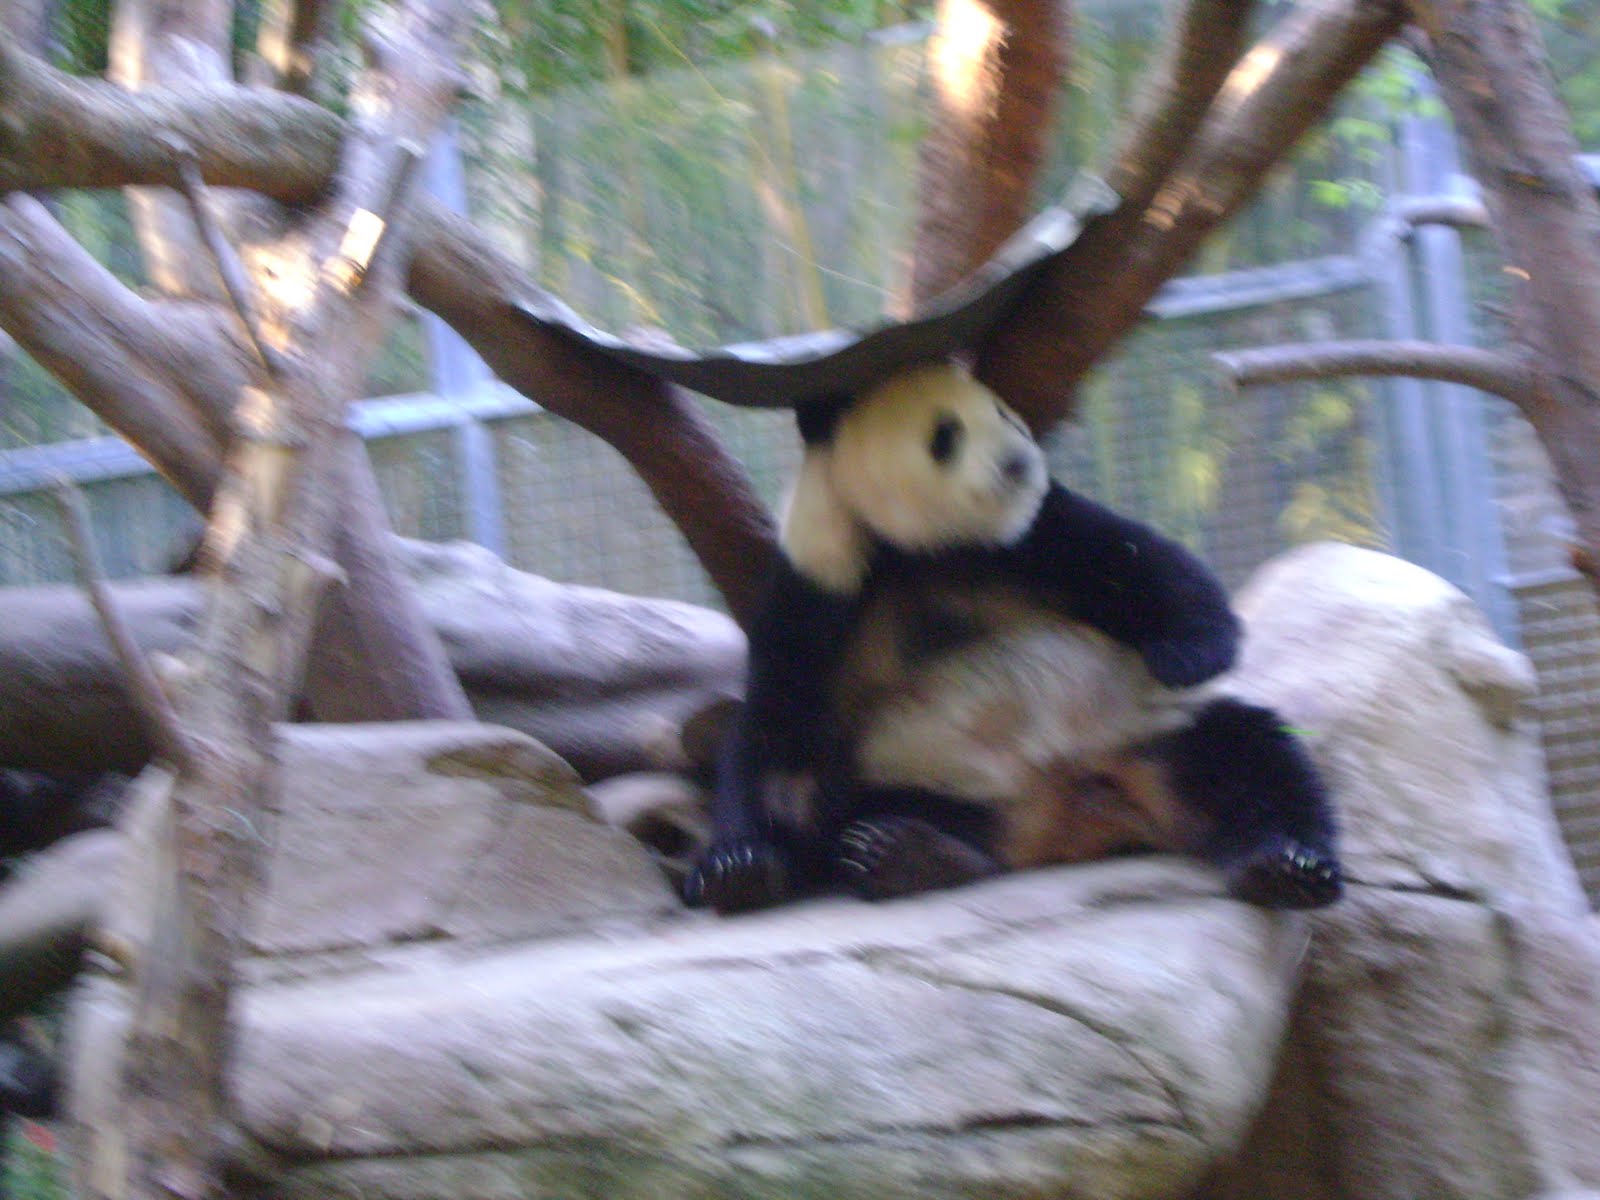
He looks how I felt after a week on the go..lol!!! But, I had such a great time with the kids and can't wait until we have the chance to do it again!! Miss them so much already.
So, now for my card. We made this at my card class on Saturday. It isn't the kind of card I like to make (only because of the reason for it) but sometimes we need to have one on hand. I don't make sympathy cards very often and am going to have to make them more often in my class.
For this one, I chose the wonderful designer series paper and coordinating stamp set from the Occasions Mini catalog:

The complete list of supplies:
Stamp Set: Nature Walk, God'sBlessings
Cardstock: Basic Black (5 1/4" x 4", 2 1/2" x 3 1/4"), Pear Pizzazz (5 1/2" x 8 1/2"), Whisper White (2 1/4"x 3"), Botanical Gazette DSP (5" x 3 3/4"), Vellum Card Stock (scrap)
Ink: Jet Black Stazon, Pear Pizzazz, Versamark
Accessories: Black Emboss Powder, Heat Tool and Powder Pals, Pear Pizzazz Marker, Basic Black 5/8" Grosgrain Ribbon, Pear Pizzazz Seam Binding, Stampin' Dimensionals
I made the butterfly using the Stained Glass technique: 1) Stamp the image onto Vellum cardstock with Versamark ink and then emboss it using black emboss powder and the heat tool. 2) Turn the cardstock over and color on the back side with the Pear Pizzazz marker making sure to cover all areas within the embossed image. 3) Cut the image out and attach with dimensionals.
This technique is so easy and looks amazing. I only used one color but you could use any combination to match your project. It's a great alternative to just stamping the image and coloring it in. I like the opaque appearance of the wings on this butterfly and it really is so simple to accomplish.
Thanks so much for stopping by today and sharing my memories and project. I hope you are inspired to do some sightseeing and to maybe try out a new technique with your next project. 'Til next time.......................
Happy Stamping,
Laurie
Remember to get your mammogram!


